In this article, we will describe how you can automatically exclude items from a SharePoint list using the Behavioral Targeting module.
As an example, we will assume that you have a “News Items” list, and you want to display items based on the location of your visitors.
Step one: Create a new “Target Market” column
The first thing you should do is add a new column that will hold the target market the item is relevant to (in the example below we called it “Target Market” and the value is the name of the country we want this item to be targeted to)
|
News Item |
Target Market |
|
First news item title |
Australia |
|
Second news item title |
Germany |
|
Third news item title |
All |
Step two: Display the list on your site
For displaying the list, you can use the out-of-the-box list view webpart or create your own. In either case, it is important to include the newly created “Target Market” column as part of the view (it can be hidden, as long as it is part of the HTML - since the behavioral targeting code runs on the client side using JavaScript).

Important: It is better to assign a unique class name, as later on you will need to access the target market value in each row. For example, if the target market cell will have the class “targetmarket”, you will be able to access all the relevant cells using jQuery: $(“.targetmarket”).
Step three: Create your targeted segments
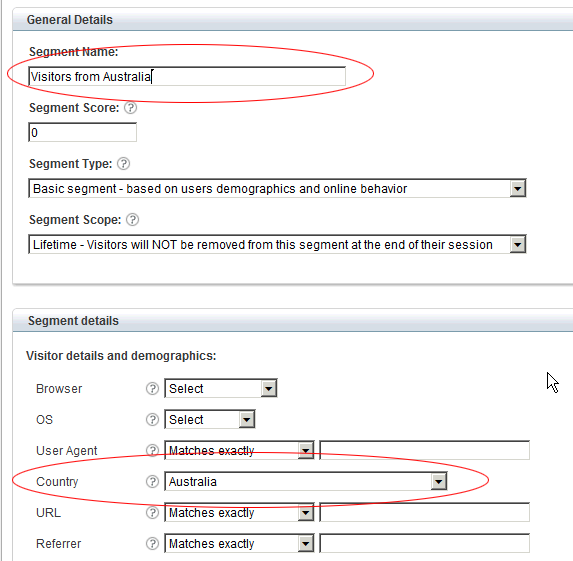
You should create a segment for each target market. For example, here is the segment for Australian visitors:
Step four: Create a JavaScript Element
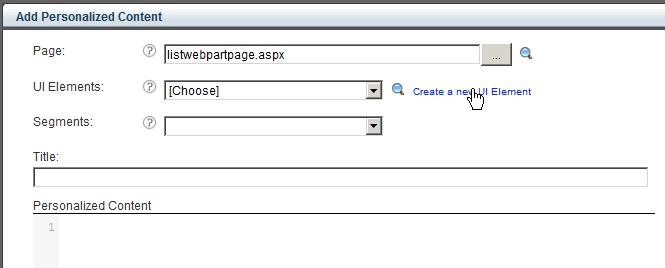
From the behavioral targeting module, create your new personalized content, choose the page the news webpart is on, and click the “Create a new UI Element” link:
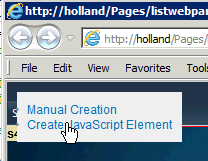
Once the page is opened, click the upper left “Create JavaScript Element” link:
Now you can set a name for that element (or leave it as is - we recommend using descriptive names so that you will be able to more easily remember what this script is for).
Next step is to define the default behavior for the news webpart. The default behavior will be executed for users who are not part of target markets that you defined for this webpart. For example, if we create a segment for Australian visitors and a segment for German visitors, then visitors from all other countries would experience the default behavior.
Tick the “I want to change the default content of this element” checkbox:

And enter the JavaScript code you want to execute.
The default behavior in our example is to show only the items that are marked as “All” in the target market column.
In step two you’ve created the webpart and, hopefully, gave the target market a unique class name. If not, you can find other ways to select the target market cells (using cells orders or tag names). Let’s assume you did assign a specific class to the target market cell (class=”targetmarket”). The following code will hide all rows and display only the ones with the value “All” in them:
|
$(function() { // hide all rows $(".targetmarket").parent().hide(); $(".targetmarket").each(function() { // for each row, check if the value equals to “all”. if it does, show it. if ($(this).text().toLowerCase() == “all”) $(this).parent().show(); }); }); |
Hit save.
Step five: Create personalized content for each segment
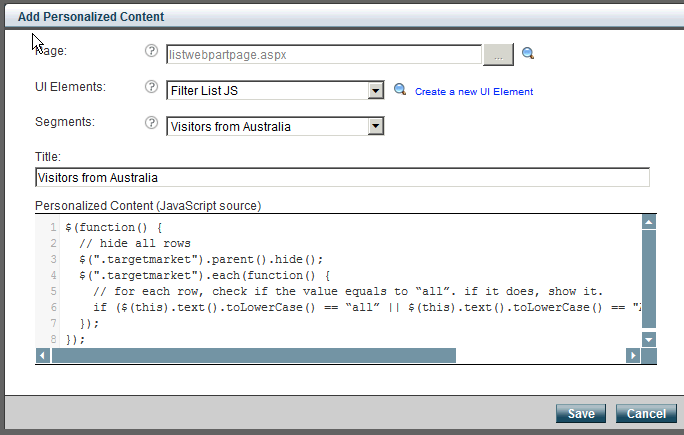
After you click the save button, you will be returned to the personalized content screen. Choose the segment you want to use (“Visitors from Australia”) and change the JavaScript code to show items that have the value “All” or “Australia” in the target market cell:
|
$(function() { // hide all rows $(".targetmarket").parent().hide(); $(".targetmarket").each(function() { // for each row, check if the value equals to “all”. if it does, show it. if ($(this).text().toLowerCase() == “all” || $(this).text().toLowerCase() == "Australia") $(this).parent().show(); }); }); |
Do the same for all other countries you want to target.
Once you are done, you should have a list similar to this one:
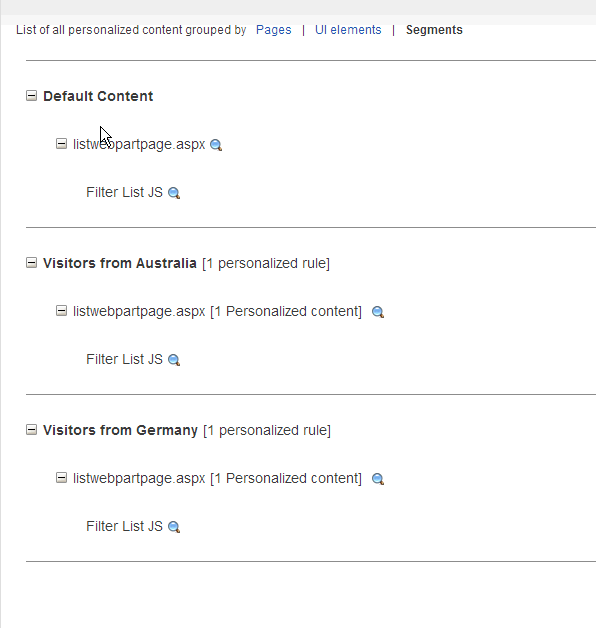
listwebpartpage.aspx is the page the webpart is on. Filter List JS is the name of the JavaScript Element we’ve added in step four.
And you’re done! Please feel free to contact us if you have any questions or need help implementing it on your site.
0 Comments